User Tools
Sidebar
nfctools
Table of Contents
RoadRunner - Writing an NFC Tag
This page will explain how to write an NFC tag for customers using the electronic call monitoring system - RoadRunner. It is vitally important to ensure NFC tags are written properly to ensure a smooth and successful sign in/out process at the clients residence.
Downloading the NFC Tools App
In order to successfully write an NFC tag, you must download the correct tag writing app on an android handset. If you already have the correct app then go to the next section of this page.
1. Go to the Play Store app on your android handset to download the correct tag writing software

2. Search for WAKDEV NFC TOOLS
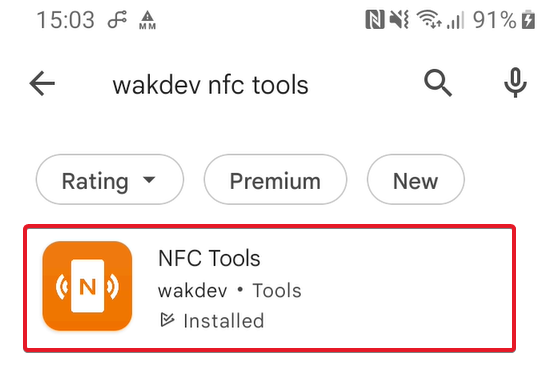
3. There may be numerous apps that appear using this search text but it is very important to download the app named NFC Tools.
4. Download NFC Tools then open the application
Writing an NFC Tag
Follow the above instructions if you have not downloaded the correct tag writing software.
1. Once you have opened the app, the following screen will appear:
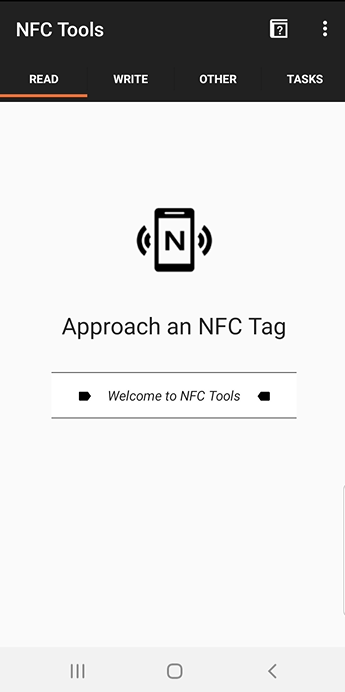
If this screen does not appear you may have downloaded the incorrect application. Go to the top of this page to the beginning of these instructions to download the correct application.
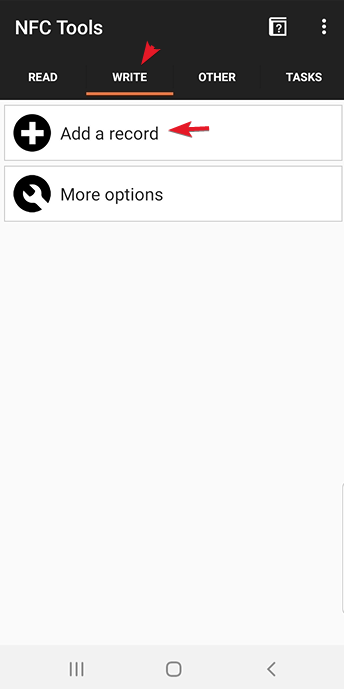
2. Press Write at the top, and then choose Add a record
3. Press Text

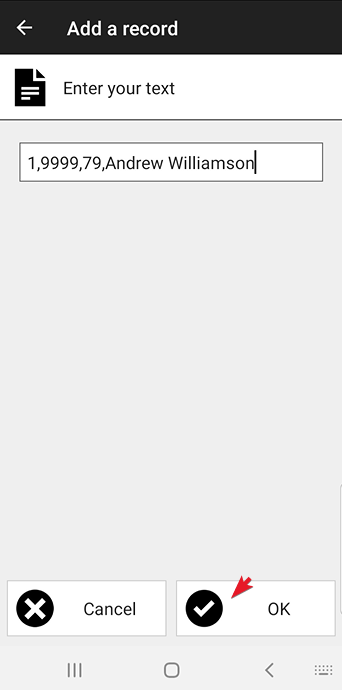
4. The entered must be as follows (please see below for information on each piece of data):

1 = indicates that this is for a client
Company ID = this is a 4-digit number that is provided from CareFree
Client ID = this is taken from the Client’s record in CareFree
The Client’s ID is stated next to the Client’s Forename field as shown below:
 Client Name = this is the Client’s Forename & Surname.
For example:

There must only be 3 commas in the data in those exact positions. If too many or few are written the tag will not be processed by the RoadRunner application. The name cannot have any commas in either. The sequence in which the data is written must be in that format above. For example, the Client ID cannot come before the Company ID etc.
5. Click OK at the bottom once you have entered the tag data.
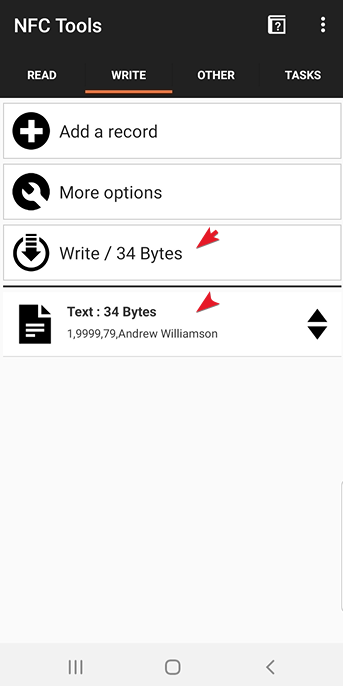
6. You will then be presented with this screen, click Write / xx Bytes
7. Once you see this screen, place the phone near the actual NFC tag to write the data.

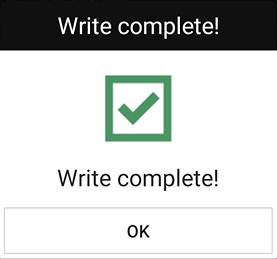
8. If a success you will see this screen.
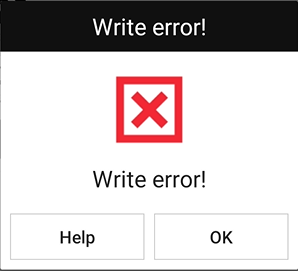
9. You may get an error, just press OK and write the tag again using step 6.
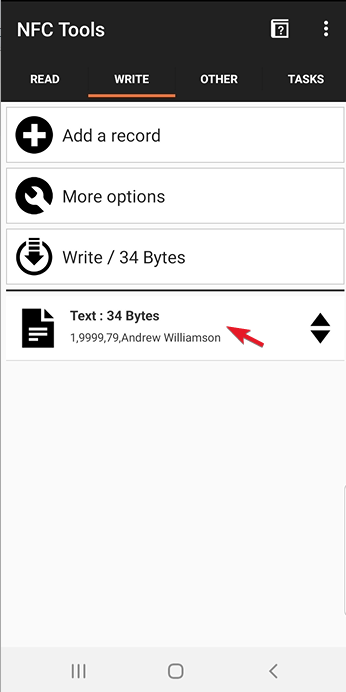
10. Now that you have written your first tag, the best way to carry on writing more tags is editing the current record, if you add a new record it will try to write two records to one tag which you don't want. Instead click on the record you have added previously:
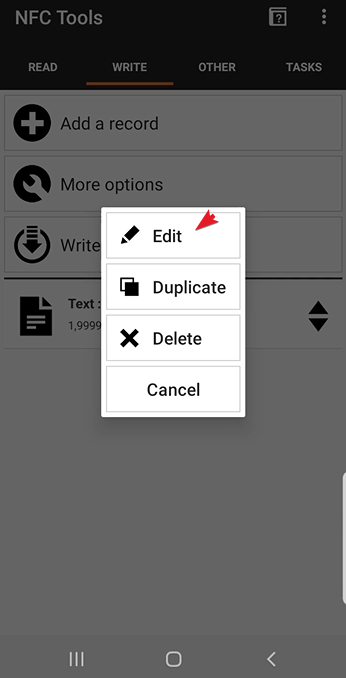
11. Now click the edit button:
12. Simply edit the id to your new clients details, press OK and then write as above. You then rinse and repeat this process until you have completed the tags.
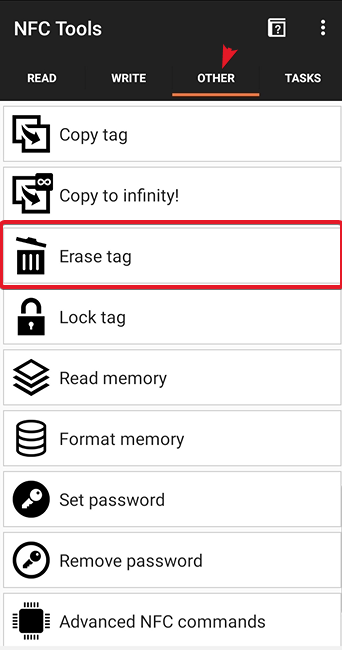
Erasing a Tag for re-use
1. From the main menu, click Other, and then simply press Erase tag, hold the phone near the NFC until you get a success message. Make sure to keep a distance from other tags you do not want to erase otherwise you will need to re-write them.
nfctools.txt · Last modified: 2022/02/10 16:49 by cfadmin